Bible Journaling for Beginners: How to Start Without Ruining Your Bible
You are staring at the thin, crinkly page of your Bible. You have a micron pen in one hand and a heart full of inspiration. But then, the thought hits you: What if I mess this up? What if the ink bleeds through to Leviticus? Am I defacing a holy book?
If you have ever felt this hesitation, you are not alone.
Bible journaling is a beautiful intersection of faith and creativity, but the fear of “ruining” your Bible is the biggest hurdle for beginners. The good news? You don’t have to be a professional artist to start, and there are foolproof ways to ensure your pages remain readable and safe.
This guide will walk you through how to start bible journaling with confidence, covering the essential supplies, techniques to protect your pages, and alternative methods for those who aren’t quite ready to paint directly on scripture.
What is Bible Journaling?
At its core, what is bible journaling? It is not about creating a masterpiece for Instagram; it is an act of worship. It is a creative way to engage with God’s Word, slowing down to meditate on scripture by documenting your thoughts, prayers, and insights visually.
For some, this looks like watercolor landscapes in the margins. For others, it’s highlighting verses, writing prayers in the sidebars, or using stickers to emphasize a theme. Whether you are using a dedicated NIV Bible journal or a separate bible journaling notebook, the goal remains the same: to linger longer in the Word.
The “Ruining” Myth
Let’s address the elephant in the room. Is drawing in your Bible disrespectful?
Historically, believers have annotated their Bibles for centuries. Jonathan Edwards, the famous theologian, famously stitched blank pages into his Bible to make room for copious notes. Bible journaling is simply the modern, visual evolution of this practice. As long as your heart is posture toward learning and worship, you aren’t ruining anything—you are building a legacy of faith.
Essential Bible Journaling Supplies (That Won’t Bleed Through)
You do not need a craft room full of expensive gear. However, because Bible paper is notoriously thin (often around 30–36 gsm), choosing the bible journaling supplies is critical to preventing bleed-through.
1. The Right Bible
If you are too nervous to use your primary study Bible, consider investing in a specific journaling edition. These Bibles feature wider margins (usually 2 inches) and slightly thicker paper designed for note-taking.
- ESV Bible Journal: Known for their single-column layouts which leave ample room for art.
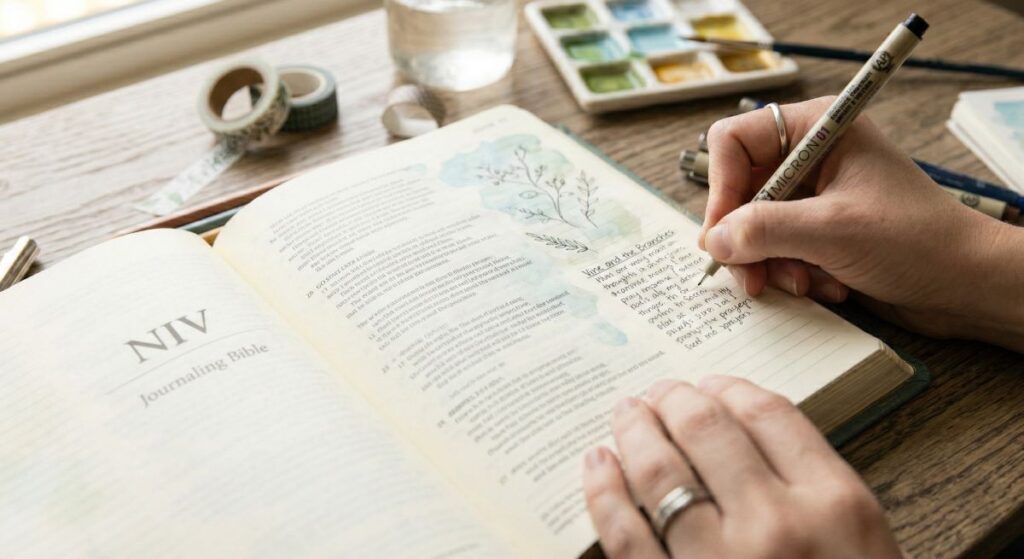
- NIV Bible Journal Edition: Zondervan produces excellent options with faint lines in the margins to guide your writing.
- Catholic Bible Journal: Editions like the Inspire Catholic Bible include Deuterocanonical books and often come with pre-printed illustrations to color.
2. Best Pens for Bible Journaling
The best pens for bible journaling are pigment-based rather than dye-based, as they sit on top of the paper rather than soaking in.
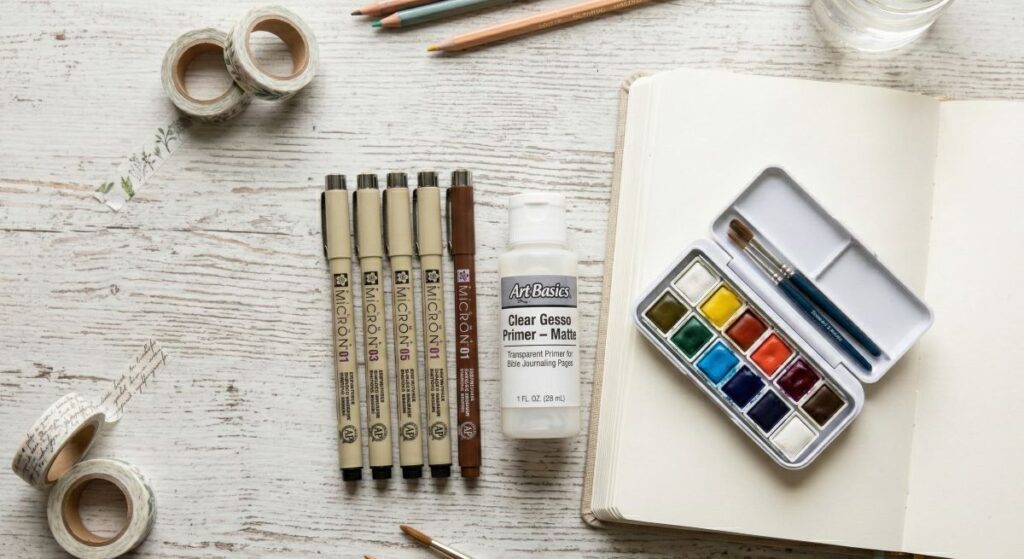
- Micron Pens: The gold standard. They are waterproof, archival, and rarely bleed.
- Ballpoint Pens: simple, cheap, and surprisingly effective for thin paper (though less vibrant).
- Avoid: Sharpies or heavy alcohol-based markers (like Copics), as these will bleed through instantly.
3. The Secret Weapon: Clear Gesso
If you plan to use watercolors or acrylics, you need bible journaling kit essential: Clear Gesso.
Pro Tip: Gesso is a transparent primer. When brushed onto a Bible page, it stiffens the paper slightly and creates a barrier. This allows you to paint without the liquid soaking through to the other side.
How to Bible Journal: A Step-by-Step Process
If you are wondering how to bible journal without getting overwhelmed, follow this simple workflow.
Step 1: Read and Reflect
Start with prayer. Ask God to speak to you through the text. Read a chapter or a specific passage. Do not hunt for a verse just to draw it; let the art be a response to what you read.
Step 2: Choose Your Focus
Identify a key verse or concept that stood out.
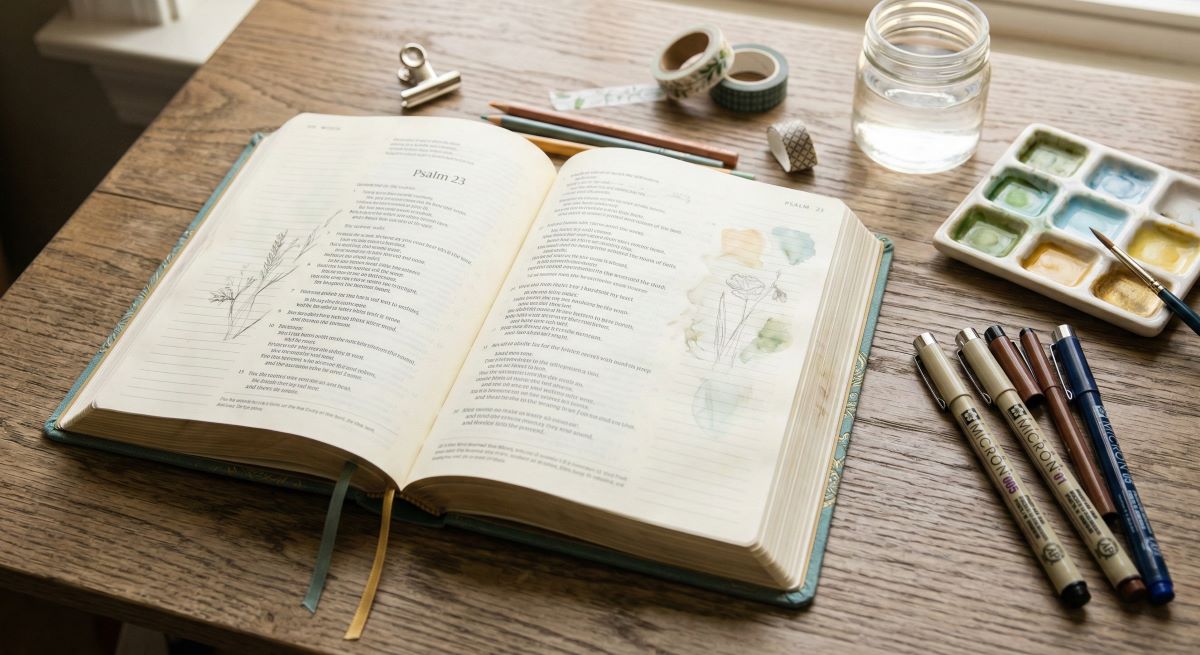
- Example: If you are reading Psalm 23, maybe the phrase “still waters” resonates with you.
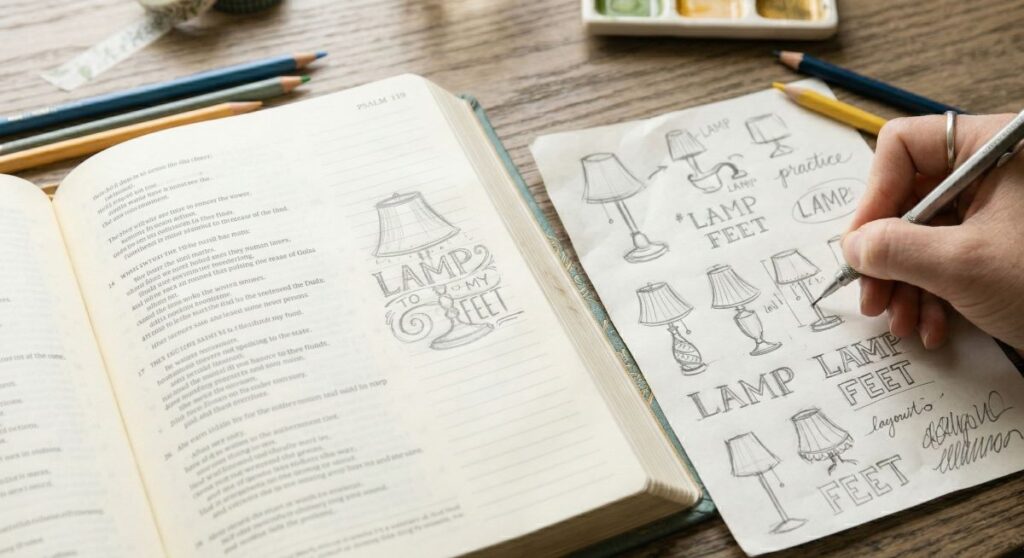
Step 3: Draft Your Design
Do not start directly in the Bible. Use a scrap piece of paper to sketch out your idea. This is where you work out spacing for lettering so you don’t run out of room on the page.
Step 4: Prep the Page (Optional)
If using wet media (paint, heavy ink), apply a thin layer of clear gesso and let it dry. If you are using colored pencils or crayons, you can skip this step.
Step 5: Create
Transfer your design. Remember, perfection is not the goal. If you make a mistake, incorporate it! Washi tape is a great “oops” cover-up.
Alternatives: The “Safety Net” Methods
If the idea of painting over text still makes you sweat, there are plenty of bible journaling ideas that keep the text block pristine.
The “Tip-In” Method
Create your art on a separate piece of vellum, cardstock, or tracing paper. Then, using a strip of Washi tape, attach the art into the margin of your Bible.
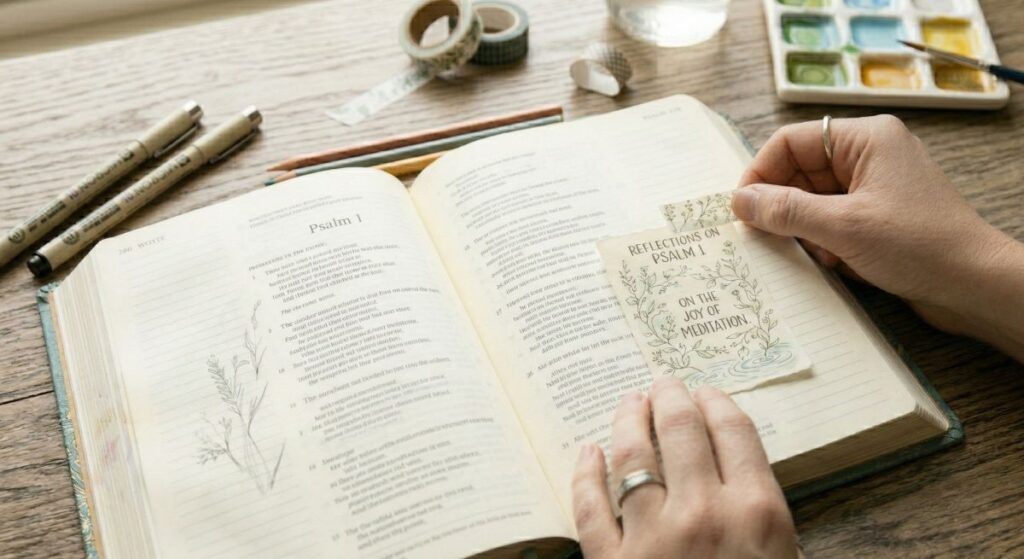
- Benefit: The art is in your Bible, but it is hinged. You can flip it up to read the text underneath.
- Supplies: Washi tape, scissors, mixed media paper.
The Interleaved Bible
Some publishers offer “Interleaved” editions. These Bibles have a full blank sheet of paper inserted between every page of text. You get a full blank page for every page of scripture, completely eliminating the fear of covering up God’s Word.
The Separate Notebook Approach
There is no rule saying the art must happen inside the Bible. Many people prefer a dedicated bible journaling notebook.
- Bible Journal Notebook Ideas: You can transcribe the verse on the left side and create your art on the right. This allows you to use heavier paints, markers, and collages that would never survive inside a standard Bible.
Digital Bible Journaling
For the tech-savvy, digital bible journaling is a fantastic, mess-free option. Using a tablet and a stylus, you can import a PDF of a Bible page and annotate it digitally.
- Pros: deeply forgiving (the “undo” button is a lifesaver), endless color options, and zero supply cleanup.
Finding Inspiration: Prompts and Ideas
Staring at a blank margin can be intimidating. Here are a few bible journal prompts to get you moving:
- Word Study: Pick one word from the verse (e.g., “Grace,” “Abide”) and write it in large, decorative lettering. Look up the Hebrew or Greek definition and write that in the margin.
- Lyrics & Hymns: Does the verse remind you of a worship song? Write the lyrics in the margin alongside the scripture.
- Prayers: Write a prayer responding to the text.
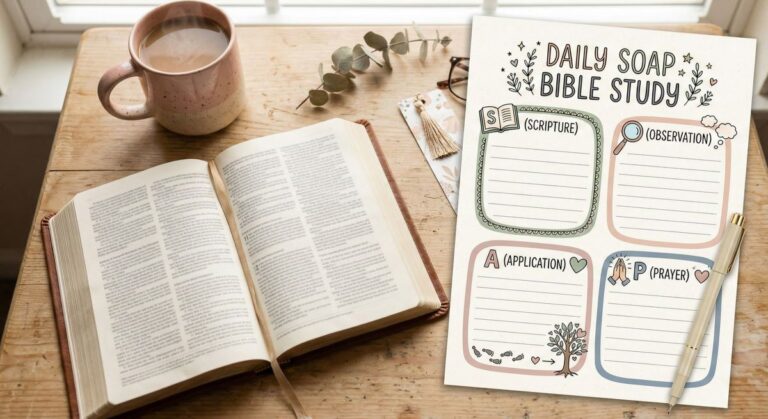
- The “SOAP” Method:
- Scripture: Write the verse.
- Observation: What do you see?
- Application: How does this apply to me?
- Prayer: Write a prayer.
For visual learners, searching for bible journal examples on Pinterest or Instagram can spark creativity. However, guard your heart against comparison. Her page might look like a Renaissance painting, but your scribbled prayer in the margin is just as precious to God.
Resources for Beginners
Starting a new hobby can get expensive, but it doesn’t have to be.
- Free Resources: Search online for a free bible journaling workbook pdf. Many artists and ministries offer printable templates that you can trace into your Bible.
- Community: Look for bible journal for women groups on social media. These communities often share challenges and prompts that can help keep you consistent.
Final Thoughts: It’s About the Heart, Not the Art
Bible journaling is a discipline, not a performance. It is a way to slow down in a fast-paced world and anchor yourself in truth.
Whether you are using a simple ballpoint pen in a notebook or watercoloring in an ESV Bible journal, the value lies in the time spent with the Author of the book. Don’t let the fear of ruining the paper stop you from refining your soul.
Grab a pen, say a prayer, and make your mark.